How the Packer Blade and Hydraulic Circuit Work
The packing cycle on a rear load compactor is entirely hydraulic, so the circuit is where any diagnosis starts. A full cycle has four phases: sweep, pack (extend), hold, and return (retract). The sweep panel rakes refuse off the hopper floor into the packing chamber, the packer blade strokes forward and compresses the load against the body floor, holds under load to consolidate the mass, then retracts to its home position.
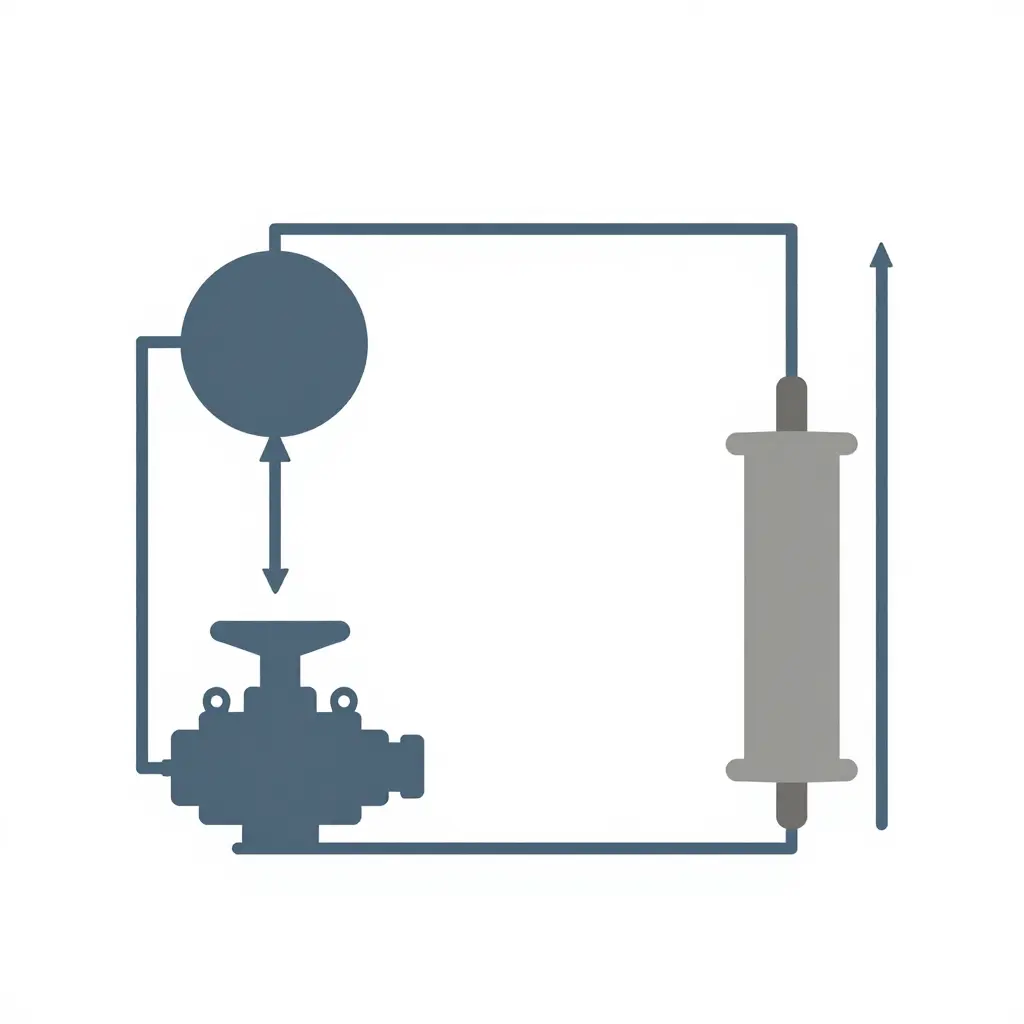
The main hydraulic cylinder generates the packing force. Most rear loaders use one large-bore, double-acting cylinder or a matched pair, anchored between the body frame and the blade carriage. Bore diameter, rod size, and available system pressure together set the force delivered at the blade face. Shops that also maintain other hydraulic lift equipment can fold routine cylinder inspection into the same habit.
The directional control valve sends pressurized fluid to either side of the piston to command extend or retract. The operator shifts it through a manual lever or an electric-over-hydraulic joystick tied to the body-mounted valve bank. Flow is open-center or closed-center depending on circuit design.
A hydraulic relief valve sets the ceiling on system pressure. When the blade meets resistance it cannot overcome – wet, dense refuse being the classic case – the valve cracks open and diverts flow back to tank. The blade stalls, and the cylinder, hoses, and body structure are spared the overload.
Why Wet Refuse Stalls the Packer Blade
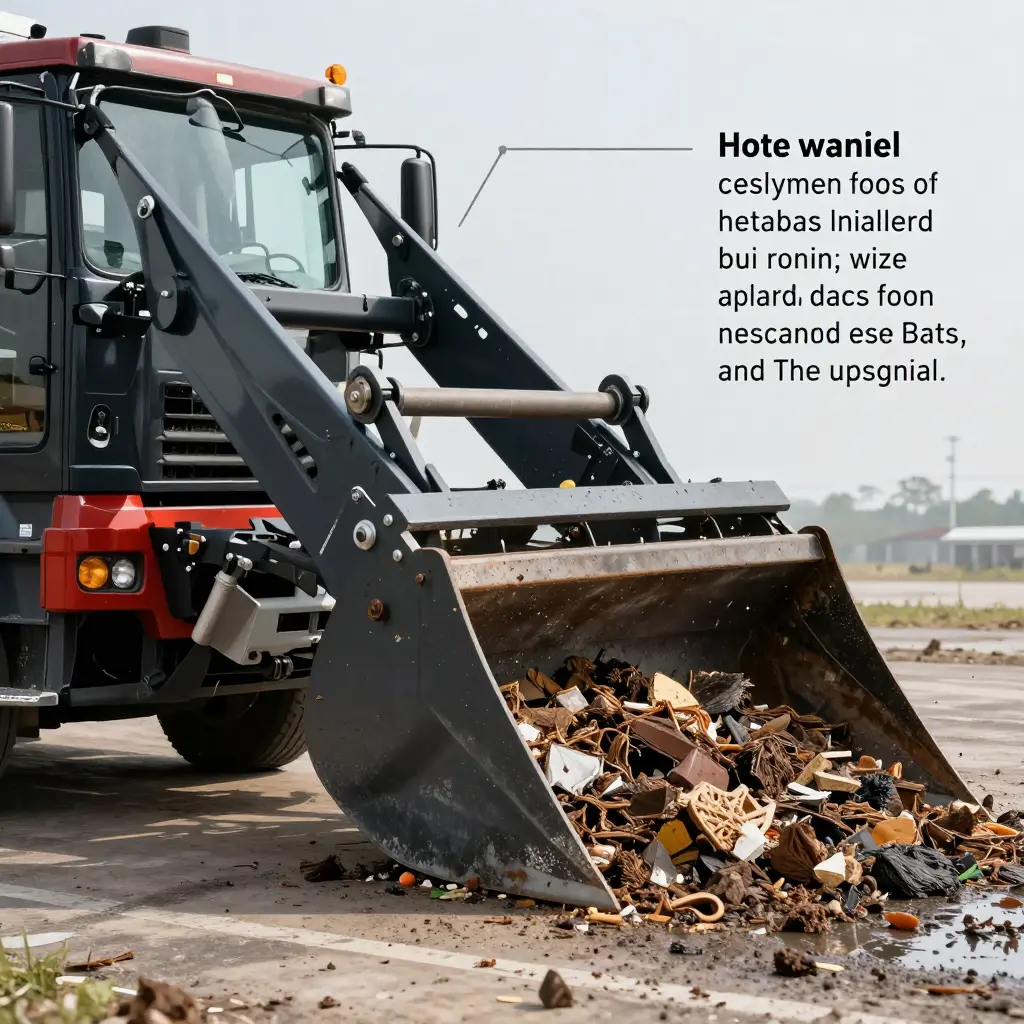
Wet refuse changes the compaction stroke in four linked ways: density, weight, friction, and resistance. Each one compounds the next, so the packer cylinder has to deliver progressively more force to finish the same stroke.
Density: Moisture Fills the Void Space
Free liquid and absorbed moisture occupy the air voids between paper, cardboard, and organic matter. The same cubic volume now carries water mass instead of air, so bulk density rises sharply.
Weight and Load Binding
A scoop of wet refuse weighs more than the same volume of dry material. The added dead weight in the hopper and body raises the normal force between the refuse mass and the body floor and sidewalls. When saturated material wedges into the upper corners and channels, the load binds: the mass locks against the body walls, and the blade must shear the entire plug before it can advance.
Friction and Compaction Resistance
Leachate carries fines, food waste, and grit that pack into a cohesive, sticky slurry. Friction rises at the blade-to-floor interface and at the sidewall contact points, adding both sliding and adhesive resistance. Internal friction between particles rises too, because the wet slurry resists shear instead of flowing around the blade.
The Hydraulic Consequence
Resistance equals friction plus adhesion plus shear plus weight, so every factor above stacks into a single load against the packer cylinder. To complete the stroke, the cylinder needs more hydraulic pressure to develop the same force. A relief valve set too low cracks open before the stroke finishes, and the blade stalls.
| Parameter | Dry refuse | Wet refuse |
|---|---|---|
| Bulk density | Low, air-filled voids | High, water fills voids |
| Mass per scoop | Lighter | Heavier |
| Blade-to-floor friction | Moderate | High (leachate plus fines) |
| Inter-particle behavior | Flows and tumbles | Coheres and binds |
| Hydraulic pressure demand | Baseline | Elevated |
Wet refuse accumulates resistance faster than it accumulates volume, so the compaction stroke never completes at the original pressure setting. That is why the relief valve setting is the first item to verify on a stalling packer.
The table below maps the most common stall and cycle symptoms on a rear load compactor to their likely relief valve causes.
| Symptom | Likely Relief Valve Cause | Typical Pressure Reading | Recommended Action |
|---|---|---|---|
| Wet refuse stall (blade stops mid-pack) | Relief valve set below spec or weak spring, bypassing early | Cracks open at 1,800-2,000 PSI instead of 2,500 PSI | Reset relief to 2,500 PSI per OEM spec; verify with calibrated gauge |
| Slow blade movement | Contamination holding the poppet off its seat, causing partial bypass | 1,500-1,800 PSI at full extension | Clean or replace the valve, flush the circuit, and check the filter |
| Pressure chatter (gauge needle flutter) | Worn poppet or fatigued spring causing rapid open/close cycling | Needle oscillates around 2,200-2,600 PSI | Replace the poppet and spring, then reset pilot pressure |
| Pressure spikes | Valve stuck closed or adjusted too high | Spikes above 3,000 PSI (up to roughly 3,200 PSI) | Free the stuck spool and lower the setting to 2,500 PSI |
| Slow cycle return | Internal leakage across the valve, low pilot pressure | Return pressure drops to about 1,000 PSI | Reseat or renew the valve and inspect the return circuit and seals |
Match the symptom you observe, then confirm the cause by comparing your gauge reading against the typical pressure window. A reading below spec points to a relief valve cracking early or leaking internally; a reading above spec signals a valve that is stuck or over-adjusted. Verify with a calibrated gauge and reset to the OEM specification before the truck goes back in service.
The Relief Valve Setting to Check First
When a packer blade stalls on wet refuse, verify the main system relief valve setting before anything else. This valve caps the maximum hydraulic pressure available to the packer circuit. Set too low, it leaves the blade unable to generate enough force to shear through heavy, saturated waste. Set too high, it risks blown seals and cracked cylinders. Either way the symptom looks identical at the operator’s panel: the blade stops mid-stroke.
Confirm this baseline before chasing pump wear or cylinder blow-by. The pressure ceiling governs everything downstream.
Locating the Valve
The main relief valve usually sits on the control valve body, often adjacent to the directional spool for the packer circuit. On many rear loaders it is a cartridge-style valve with a locknut and adjustment screw. Trace the pressure line from the pump to the main manifold; the valve is typically the first pressure-controlling element in the path.
Confirming the Setting
Do not trust the adjustment screw’s position. Install a calibrated gauge on the test port and read actual pressure while the blade is dead-ended, then compare that reading against the manufacturer’s specification. The hydraulic reference table above lists the acceptable pressure band and the symptoms tied to a low or high setting – use it as your go/no-go benchmark.
While you are in the circuit, inspect the related lift and hydraulic cylinder for scoring or seal damage, as outlined in this guide to subframe and lift cylinder checks. A correct relief valve setting accomplishes nothing if the cylinder itself is failing.
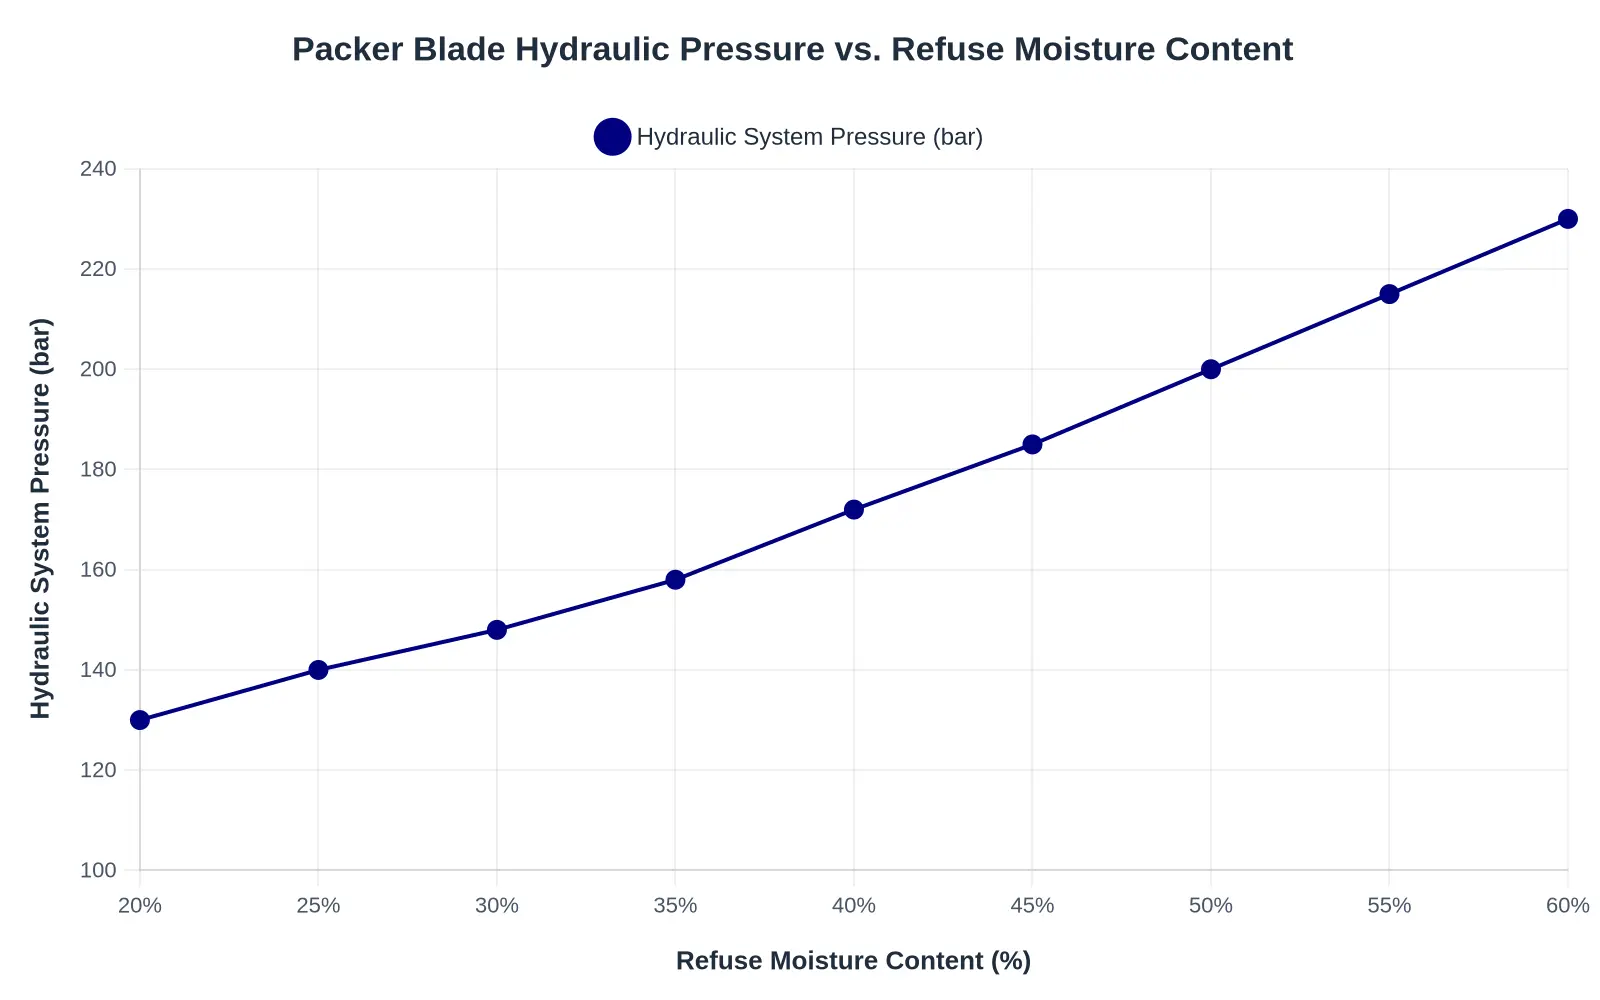
As refuse moisture content climbs from 20% to 60%, the hydraulic pressure required to drive the packer blade through the load rises steadily, from roughly 130 bar to about 230 bar. In wet conditions the blade system is already demanding near-peak pressure just to complete a normal cycle. A relief valve set too low will crack open early, stall the blade, and leave the load only partially compacted instead of fully packed.
Diagnosing and Adjusting the Relief Valve
When the packer blade stalls on wet, heavy refuse, the relief valve setting is almost always the first item to verify. Set too low, the valve bleeds off hydraulic pressure before the blade can complete its stroke; set too high, it invites blown seals and cracked cylinders. Work through the steps below, and confirm system pressure against your truck’s specification before you turn a screw.
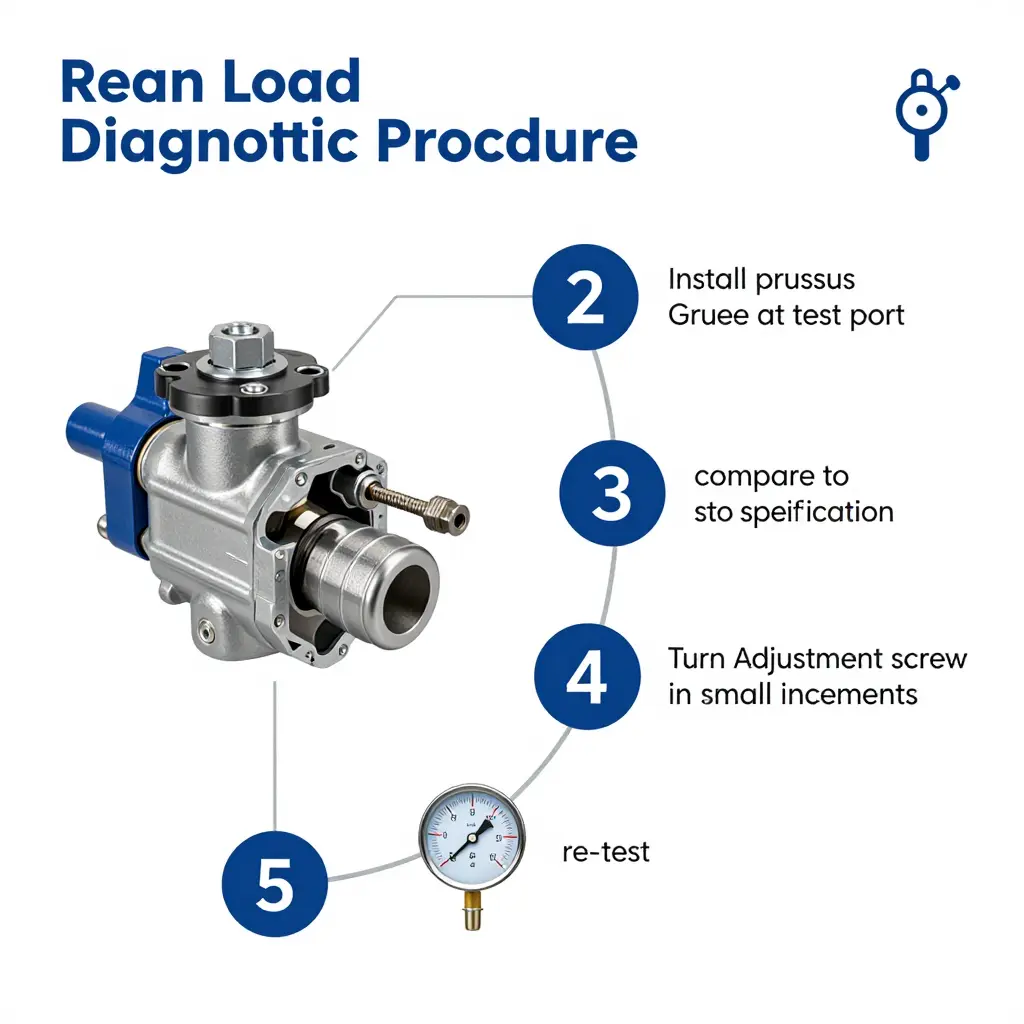
Step 1: Park, Isolate, and Lock Out
Position the truck on level ground, lower the packer blade, and shut off the engine. Cycle the control levers through all functions to bleed residual stored pressure, then apply lockout/tagout before touching any fitting. See the safety note below.
Step 2: Install a Pressure Gauge at the Test Port
Connect a calibrated pressure gauge (rated well above expected system pressure) to the hydraulic test port on the main relief circuit. Use a quality gauge with a needle that holds its peak reading, or fit a gauge tee with a damped needle.
Step 3: Record the Stall Pressure
With the gauge connected, restart the truck, engage the packer, and let the blade stall against a full load. Read and record the peak system pressure – that is your stall pressure.
Step 4: Compare to Specification
Check the recorded figure against the OEM’s published hydraulic system pressure for that model. A reading several hundred PSI below spec usually explains a weak, stalling blade.
Step 5: Adjust in Small Increments
Loosen the jam nut on the relief valve and turn the adjustment screw in small increments – typically a quarter turn or less. Clockwise raises pressure, counter-clockwise lowers it. Snug the jam nut and re-check.
Step 6: Re-Test
Repeat the stall test after each adjustment, recording the new pressure. Continue in small steps until you reach spec, then confirm the valve holds steady across several cycles.
When the Setting Isn’t the Problem
If the relief valve setting is correct and the blade still stalls, look beyond the valve. Pump displacement, cylinder bore, and the balance of chassis and hydraulic sizing all affect performance. For how bin dimensions and chassis length interact with hydraulic demand, see matching bin size to chassis length.
Safety note: Hydraulic systems store potentially lethal pressure energy even with the engine off. Always relieve stored hydraulic pressure, support or lower the packer blade, and apply lockout/tagout before servicing. Never crack a fitting on a pressurized line, and never adjust the relief valve while the system is under load.
Preventive Maintenance to Stop Repeat Stalls
Reactive repairs keep a truck in the shop, and they do little to keep it off the tow hook. The reliable way to eliminate recurring packer stalls is a disciplined preventive maintenance schedule that treats the hydraulic system as one closed, pressure-sensitive circuit rather than a collection of independent parts. Build these practices into every service interval:
- Verify relief valve pressure on schedule, documenting the cracking and full-flow set points against the OEM specification for your pump and cylinder combination.
- Replace hydraulic filters at the recommended hour interval, and cut open spent elements to inspect for metal fines, seal debris, or sludge that signals internal wear.
- Monitor oil temperature under working load, since sustained heat thins the fluid, drops viscosity, and lets the relief valve open earlier than intended.
- Inspect cylinder seals for weeping, nicks, and hardened lips; internal bypass robs the packer blade of the pressure it needs to shear wet refuse.
- Adjust packer blade clearance to the manufacturer’s tolerance so the blade sweeps cleanly without binding against the body or packing plate.
- Train operators on wet-load cycle handling, including partial-stroke techniques and load distribution that prevent overpacking on high-moisture routes.
These steps work together because a stall is almost never caused by a single failed component. When relief valves drift, filters clog, and oil runs hot, the pump cannot build rated pressure, and the blade stalls on dense wet loads that a healthy system would clear. A documented PM program paired with operator coaching turns a chronic breakdown into a predictable service item.
Packer maintenance is not the whole picture, either. If you are weighing body configurations or evaluating which hoist platform best fits a small crew, it is worth understanding the trade-offs in this comparison of hooklift versus cable hoist systems before committing capital to a new build.
Frequently Asked Questions
What relief valve pressure should a rear load compactor truck run?
Most rear load compactor truck manufacturers set the main packer circuit relief valve between 2,500 and 3,000 PSI, but the correct figure depends on the specific make, model, and pump displacement. Confirm the setting against the OEM service manual before touching an adjustment. Running it too high can crack a cylinder; running it too low guarantees the blade will stall under ordinary loads.
Can wet refuse alone cause a packer blade stall?
Yes. Saturated garbage is far denser and heavier than the same volume of dry material, which sharply raises the force required to compact it. When that resistance exceeds the relief valve setting, the hydraulic system deadheads and the blade stops moving even though nothing is mechanically broken.
How do I know if the relief valve is stuck open?
A relief valve stuck open typically shows up as a pressure gauge that never climbs to spec, sluggish or nonexistent blade movement, and hydraulic fluid that stays cool because no real work is being done. The pump may also labor continuously while the packer blade refuses to advance under load.
Does raising the relief valve setting fix wet refuse stalls?
No. Cranking up the setting only masks the symptom and pushes pressure past the safe design limit, which can blow seals, rupture hoses, or bend a cylinder rod. Fix the root cause instead – worn packer components, a weak pump, or poor loading technique – rather than exceeding the specified setting.
How often should hydraulic pressure be tested?
Test hydraulic pressure at every scheduled PM interval. Most fleets find that checking it monthly, or roughly every 250 operating hours, catches pressure drift before it causes a breakdown. A full system pressure test is also recommended whenever a rear load compactor truck is serviced after a stall complaint or any hydraulic repair.
Key Takeaways
Wet refuse changes the physics of the job. Absorbed moisture raises the density and friction of the load inside the hopper, which increases hydraulic demand on the packer blade and pushes the system closer to its pressure limit. When a rear load compactor truck stalls on a rainy collection route, the root cause is almost always pressure, not operator error.
That is why the relief valve setting gets checked first. Before replacing a pump, resealing a cylinder, or questioning the blade design, confirm the relief valve is holding at the correct specification. A misadjusted or fatigued valve remains one of the most common and most overlooked reasons a packer blade stops mid-cycle.
Correct maintenance prevents repeat stalls. Scheduled hydraulic checks, clean fluid, and properly torqued fittings keep pressure where it belongs and turn a roadside breakdown into a routine inspection item.
Every CRRC special vehicle is engineered to that same standard. From garbage trucks to complete sanitation vehicles, CRRC’s special vehicle manufacturing quality delivers durable hydraulics and dependable performance that fleets can rely on, route after route.